Family portrait and fine art photography based in Chilliwack BC Canada
ChrisTopher Films
  • Home
  • About Me
  • Gallery
    • Special Occasions >
      • Coralee & Peter Wedding
      • Alanna & Les Engagement
    • Family Portraits >
      • The F Family
      • The L Family
      • The M Family
      • The W Family
    • Landscapes >
      • Sunset
      • Nature
      • Water
      • Ice
    • Performers >
      • Ron Boudreau
      • KAT
    • Public Events >
      • Chilliwack Flight Fest 2013
      • Abbotsford Airshow
      • Chilliwack Flight Fest 2014
    • People
  • Restorations
  • Contact Us
  • Prices
    • Photo Sessions
    • Restoration Fees
  • Blog

The Importance of Backing Up

2/17/2014

0 Comments

 
Help I was installing a new program on my computer and now I have a blue screen. What do I do? How many times have you heard this happen or maybe even had it happen to you. Read on in this week's blog to learn the importance of backing up your photos. Take some time to get it done before it's too late.


Catastrophic failures happen every day in life. From hard drive failures on your computer to the tragedy of a house fire, and almost every time one of these unfortunate events takes place the words you hear most are "What about all my pictures." We are a very visual species and we cherish our memories that are usually immortalised in a photo or video and when we lose those we feel a great emptiness. Why is it then that we don't look after these things better?


Today's digital age is allowing options for looking after our photos that never existed to our forefathers. I use my laptop as a first copy of all my photos. I then back them up immediately onto my external hard drive that stays in my laptop bag, when not in use, so if something happens to my home then I can hopefully grab that one bag and exit my home. From there I burn my photos monthly to DVD and have two copies. One stays at my home and the other off site.


There are other options such as clouds, multiple hard drives, and others. What works for one may not work for another, a cloud for instance would not work for me due to the sheer volume of photos I would be trying to store. The important thing here is to remember have at minimum two copies of your cherished photos, you don't want to be a statistic of someone else who lost all their photographic memories.


The second part of backing up your photos is keeping them organised. One way is create a catalogue system according to shoot date. My system is to save all my photos on my laptop and external hard drive at the same time according to year_month_day_and description of the shot. You can see this below.


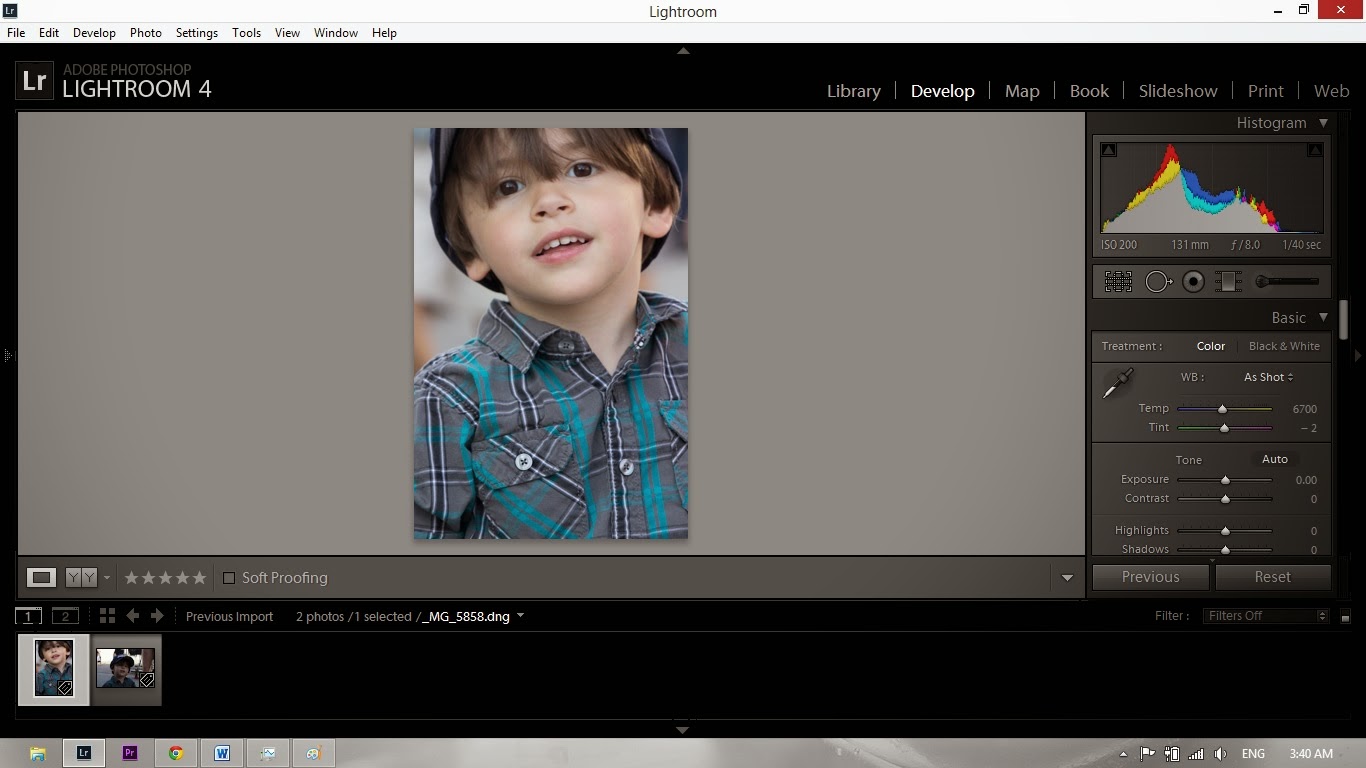
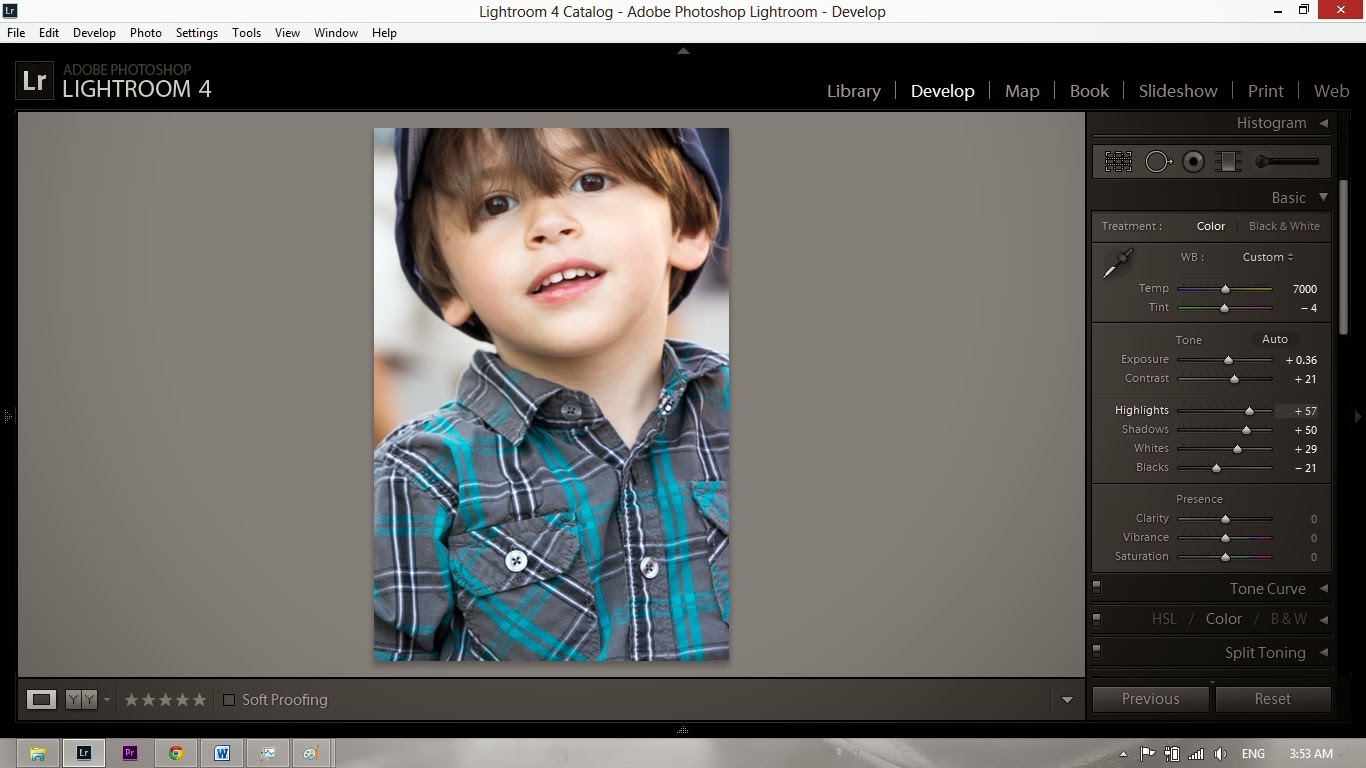
Another great tool is a catalogue similar to Adobe Lightroom. With this program you can attach "keywords" to the photo making it that much easier to find it in the future. There are a number of catalogue systems available on the market today so finding one that fits your budget and needs should not be a problem.

So there it is, several different ways to back up your cherished photographic memories. There is really no good excuse for not having them survive your most catastrophic failure, whatever that may be. Don't become a statistic and lose your great family memory.
0 Comments

Is RAW Right For You

2/11/2014

0 Comments

 
You have your SLR Camera. You understand some of your manual settings. Now the question is what is RAW, why shoot in RAW why not just shoot in jpeg. RAW is a professional photo format right. Absolutely not. Read this week's blog to understand why shooting RAW will help you improve your photography and smooth out your editing problems.


Most SLR cameras and some higher end point and shoots allow you to shoot in jpeg format or RAW, and the biggest difference between the two formats is the amount of information that is stored. On my Canon I have the ability to shoot both at the same time which is the preference I use. The true beauty of shooting in RAW is you can control so much more of your post production work. Whenever you make adjustments to a photo in jpeg and save the file you lose just a little more information at a time, something to do with pixels being compressed. Let's face it there is nothing more frustrating than taking a photo and when you download it from the memory card you realize the white balance was a little off, or your exposure was over/under by a half stop, or any other little detail that might make the shot mediocre at best. After all you took your time, composed the shot, checked your white balance and your exposure, it should have been perfect but it's just off by a bit. In steps post production, you can see 7 Steps to Lightroom Magic for some tips. Post production is your friend and nothing makes it easier than working with a RAW file, the amount of detail that is captured and can be brought out of a photo is amazing.


This photo was taken at Harrison Lake, a place I love to wander around, and was all but lost due to the underexposure of the shot. It was a very bright back light that caused this couple, enjoying the rainy day, to become significantly underexpose. Now I realized this as soon as the shot was taken but before I could correct the problem they moved on. This is not a problem for me as I do shoot RAW and I knew that although the camera exposure sensor was tricked I could fix the photo in Lightroom and save this very candid moment.


That's what the value of RAW is, saving a photo that needs just a bit of help. There are other values to shooting RAW that I have not gotten into this week. Perhaps another time I will revisit this subject. If there is a question about the RAW vs. Jpeg please leave a comment or drop me a line.
0 Comments

5 Posing Tips For Unforgetable Portaits

2/4/2014

1 Comment

 
How many have a camera pointed at them and suddenly you feel as awkward as you were in junior high looking to ask or be asked to your first dance. Then when you see the photos you see all the negative features you hate about yourself. Read this week's blog for 5 critical tips to posing for unforgettable portraits. I will let you in on secrets that will make you look 10 years younger and 15 pounds lighter, all without Photoshop.


1) Look at what's in your closet. Colour is key; you want what you wear to compliment your background. This means looking at a colour wheel, colours that lie close to each other are considered to be balanced and peaceful. Colours that are opposite are complementary, but not always in a pleasing fashion. Blue and yellow, almost opposite create very striking images, whereas green and red can clash very heavily. Keep this in mind when selecting clothing and makeup, or outfits when taking group portraits. You will want outfits to be balanced for a better photo.


2) Hair is next, what style is best for you. Wear what is comfortable for you and don't try a new style just before your session. If you don't like your neck line change it by using your hair. This is a brilliant technique. Never use your hair to "Frame" your face, it should be over one shoulder only and usually turning your head a little to the right, showing the left side of your face gives slimmer and shorter lines.


3) How much makeup is too much? This is mostly determined by the portrait style you are wanting. Glamorous photos in evening gowns and jewels should be complimented with darker and somewhat heavier makeup. If the upcoming shoot is just a casual jeans and blouse then wearing your standard amounts with a slight enhancement of the eyes and cheeks would look superb. Again if you have challenged areas then highlight or accent the areas you like to diminish the attributes you are not crazy about. When working in the Glam realm heavy accents of eyes or lips are good but never both.


Singing Artist KAT


4) Now the question "What do I do with my arms." Nothing looks more awkward then a person standing arms hanging at their side lifeless and sometimes even stiff. If you look at yourself in the mirror standing and admiring that new dress or shoes look at your arms. They are always slightly bent or maybe even crossed. These arm stances evoke emotion and your arms give out as much expression as your eyes.


5) Finally the single most important tip I can give. Usually people try to pull away from the camera they are trying to get away from it but when you do it creates double chin, tight expressions and a very poor photo. Photographers, professional or amateur, are telling you chin up and this isn't terrible advice but this pose does not look natural and you the subject tends to look stiff. The better way is to thrust your chin out. Now I don't mean force it out to the point where you look as stiff as your chin up, just a gentle little push forward, doing this reduces double chins and smooth's lines over your whole face giving you that slim jaw and neck.

Try using some or all of these tips and you will find your portraits look more natural and unforgettable.
1 Comment

Seven Steps To Lightroom Magic

1/27/2014

1 Comment

 
With the recent release of Abobe Lightroom 5 for a mere $149.95 the amateur photographer now has the ability to enhance and improve a photo in the comfort of their own home. Lightroom is really the digital equivalent to a chemical darkroom back when we all shot with film. The enhancements that were done in the darkroom would improve exposure, clarity, contrast, pretty much everything you can now do in Lightroom. Let me take you through the steps I go through with most of the photos I create.


Here is a shot of my Lightroom catalogue. From this catalogue I can search for photos using a variety of methods from keyword searching, to star rating, and a host of other ways. Once I identify photos I would like to edit it's as simple as highlight them and click the develop tab.


To the right is the first view you get when entering Lightrooms develop module. You will have a series of thumbnails across the bottom and the thumbnail you want to work on is highlighted and appears in the main viewing area. The photo you see here has not been altered from the original in camera shot.


Down the right side of the work palette you will see the basic menu where you will begin tweaking your photo from good to great. It is important to remember that the path to a great photo is starting with a great foundation and looking at the photo I am working on it has the right recipe. The composition I really like, the lighting and exposure is very good and now to make a few fine tuning adjustments.


I like to start with the highlights, shadows, whites, and blacks, in that order. I will make adjustments using the sliders and when I work the whites and blacks I use Alt while adjusting them. This makes the screen appear black and when I start to "Clip" (a phrase used when ever or under exposing)the blacks or whites it shows on the screen.


You see how the adjustment sliders have been altered and now the photo has a little more punch. I think it's on its way to a great portrait. Next a little clarity and variance.


Here is the portrait after clarity and hue have been adjusted. The third slider in this grouping is saturation. I tend to avoid using this slider as I feel that when the photo is printed the colour tends to become quite garish and unreal.


Now that we have made these adjustments we can sharpen and vignette the photo giving it a clear definition and a little artistic feel.


Before
After
And here it is the finished product. All the changes made to this photo were done in Lightroom and I have done these same adjustments in my darkroom, when I still shot film. People argue that by doing this enhancement you are not staying pure to the original picture, however there is no difference between what was done here in Lightroom and what I used to do in my darkroom. Your photos can be far better with just a few moments of time and a little tweaking here and there. It is no different than what photographers have been doing since the beginnings of time.


1 Comment

Lose Weight & Take Better Photos

1/20/2014

1 Comment


What the heck are you talking about? Lose weight, Photography, not even related, or is it. Well when you have a desire to do something then you challenge yourself to stretch out and learn, overcome, or just plain move out of your comfort zone. That's what this week's blog is all about moving from your comfort zone.

Now I certainly will not profess to be an exercise guru. That's not who I am and in fact I am comfortably overweight by about 30 pounds(ish), but I can change that. I am, however a good photographer and I can change that as well. If I want to lose weight what do I need to do, control the amount I eat and exercise. If I want to become an excellent photographer, not just a good one what do I need to do, increase the amount I shoot and exercise my creative side. Now how does excersising and improving your photography skills go together, let me explain.


This photo, that appeared in last
week's blog about creativity, was taken from the side of the road not that far from my home. It is a photo of Mount Slesse, in the Fraser Valley, and represents a lazy photo. Although it was what was needed for me to get out of my slump it was not active. I did not have to work for it, it was there waiting for me. I could drive to the location I visualized set up my equipment and shoot away.


The photo of the alpine meadows represents the fit photographer. Also taken not far from my home, this is a meadow on Mount Cheam, which dominates the eastern Fraser Valley. If you want to visit this splendid area put on your hiking boots and check out this website http://www.trailpeak.com/trail-Mt-Cheam-near-Chilliwack-BC-538 you won't be disappointed.


To get to this meadow you will need a 4x4 and the whole day. You will drive about 90 minutes followed by a major hike before descending back down to Chilliwack. Due to the difficult nature of this location you will need to be very selective about what equipment you bring. Pack light (lose the weight) or it will be a very very long day.


That's all there is to it folks want to become a better photographer and get fit go out and explore. You could stay indoors use your flash do some interesting stuff, or you can go out, wander around and lose yourself in the wonders Mother Nature has provided for us to shoot. These are the memories to create and the pictures to make. I don't think there is anything better. Start becoming a great photographer today by exploring one shutter click at a time.
1 Comment

Where The Heck Have I Been

1/12/2014

0 Comments

 
Well it has been a long long time since I last blogged. I know you were starting to think, Oh Yeah another fly by night blogger, here today and gone forever. For that I apologize. When I started I said you would be joining me on a journey. That journey has highs and lows, good and bad. So the last few months have been a low for my blogging inspiration, my photo inspiration, and really just in general blocked creatively and that SUCKS.

Now I’m back. Sit back relax and see where we go next
Picture
Picture
These photos are what broke my slump.

Driving my child to school every morning I see the majestic Mount Slesse in the distance. It is nestled in its own frame of lower hills in front and the sky behind is breath taking this time of year. With this in mind I set out to capture the vision I have had of this picture for months.

You see this is the way of discovery. I visualized this photo over and over in my head. Other photographers talk or write of doing this but I seem to have been missing that element. Pre-visualization.  Then I heard an article on the radio that spoke about the need for long term self-visualization as being the journey to creativity.

While taking these photos I became more excited than I have for some time about shooting. Every frame, every click of the shutter and there on my LCD display was exactly what I had seen before I ever heard the click.

That was the journey, the reason I have been away for the past few months, and I have no regrets. Coming out on the other side has left me rejuvenated, excited, and more creative than I ever have been.

I look forward to sharing with you more of this journey as time goes by and remember if you are in your creative slump look at the pictures in your mind and leave your camera in the bag for a while. You won’t regret it, I know I haven’t.


0 Comments

When Shooting Becomes Overwhelming

10/7/2013

0 Comments

 
Ever notice how often life gets overwhelming. I would like to give you a quick example of what a week for me looked like this past summer. I don't do this to complain, actually the opposite is true, we all get busy but when you are doing something you love it just doesn't seem that bad. So sit back read about a week in late August and next week we will get back to our tutorial on using your camera in manual.

DAY 1

 It started on a Thursday when just after 10 AM my cell phoned chirped an appointment alert. Now I wasn't that stressed about it cause anything important I give myself a 24 hour and 1 hour alert, so imagine my surprise when I checked it and discovered I had to be on location for a filming shoot for a pilot local cable TV show. No camera equipment in my vehicle I had to race home load up and head to the location arriving a mere 10 minutes late, which I blamed on traffic. We filmed all day and then I took my wife to YUK YUKS comedy club that evening for an entertaining time with friends.

 Day starts at 7:00 AM ends 2:00 AM

DAY 2

Now my day did start a little slower as I didn't have to do anything till 10 AM so slept in till 9. Then it's time to hit the computer and start work on the film that was shot Thursday.

At about noon I decided, all beit late and not smart, that the volunteer t shirt I would be wearing on Sunday shooting Chilliwacks Flight Fest should have my LOGO on it. Now if you have read earlier posts you may have seen the one about LOGOs and how important I think they are, well I also said that you should have professionals do that work and shirt logos are no different. I did not follow my own advise and due to the lateness of the hour I decided to go with an iron on printed at home. I couldn't find any iron ons in clear only white so the shirt did not turn out as nice as I had hoped but I learned from this mistake and will change things in the future.

That night I had the opportunity to shoot KAT at Party in the Park, a local Chilliwack festival. Now this girl is amazing. I have shot her in the past and love being involved in her career. She won EMI & MOA record recording contract 2012. She has been featured on Jan Arden's Being Jan  and continues writing and recording her own flavor of music. Look her up on Facebook,Twitter, You Tube. I was home about 9 and had to work the photos for her social sites that night. Post production done at 2 AM sent via WeTransfer to her manager. Off to bed.

 Day starts 9:00AM ends 2:30AM

Day 3

Preparation for Friday nights Hangar dance shoot and following airshow shoot. Now if you've never been to the Chilliwack Flight-fest hangar dance and dinner you are missing something amazing. The food is incredible with a full steak dinner with baked potato and Chilliwack grown corn on the cob. After the dinner there is an evening mini performance by some of the performers flying the next day. Shoot into the evening, have a few beverages, home late , do post on photos that are needed for the next day bed.

 Day starts 8:00 Am ends 2:00AM

Day 4

Start the day shooting the Flight-fest volunteers setting up for the day. A pancake breakfast for the community and then on with the show. Now this is my second year covering the event and it is a true honor to be the exclusive photographer for the event. Between B25 Mitchel bomber, spitfire, wing walker and stunt planes this was a photographers dream. The weather was amazing and the photo ops even more so.


Day starts at 6:30 AM ends 10:00pm

Now comes all the editing and when you shoot that many venues in that short a period of time it is very critical to get the best from your manual settings as you can so there is very little editing to be done. By Thursday, and after working at my other full time job 36 hours, my editing is done and all photos are in the hands of the clients. They are happy. I am happy. Now onto a new photographic day.

0 Comments

Learning to Shoot Manual: Photography Tutorial (part two)

9/27/2013

3 Comments


Here it is. The secret to shooting in full manual mode. Three little words, ISO, Aperture,Shutter. When you understand these 3 elements you will achieve optimal exposure.


So let's break it down. Shutter, most of you probably know, is how fast or slow the opening inside the camera opens and closes.When you press the button, known as the shutter button it causes the sensor inside your camera to be exposed to light. If you use very high shutter speeds then it will freeze action whereas if you use slower shutter speeds it creates more blur or softer images. Now why in the world do you want blurry images you ask, or you might say "that's why I'm looking at your blog because most of my pictures are blurry", there is a difference between out of focus and blur. If you look at a photo and everything is blurred then chances are it is either out of focus or you were shaking the camera. When things are creatively blurred then  most of the photo will be sharp, but a section will have blur to suggest movement or speed or softness.


Looking at this photo on the left you see how crisp all the details are except the bus. This is a great example of creative blur. It gives the feeling of motion and speed and the subject is clearly defined with composition (rule of thirds, more on that later) and the crispness of everything else in the frame.


Other examples of longer shutter speeds would be water that looks like mist, or light trails as shown on the right.


Now you cannot just alter the shutter speed alone. If you increase the length of shutter speed like I did, to capture these effects, your photo will come out like a white piece of paper, perhaps with some grey shadows here and there. The reason for this is because there was light coming into the camera for too long and your sensor was filled with light particles. A very good analogy is to imagine the sensor on your camera is a platform covered in buckets, you want your buckets to be filled just to the top. Overfill, and your buckets will leak water everywhere and wash out your photo. Don't fill the buckets enough and your photo won't have enough light and things will be dark to black. So how do you get the buckets filled when changing your shutter speeds so the buckets are filled to jut the right level. That's the other parts of the triangle.

Adjusting aperture gives you the ability to lengthen or shorten shutter speed based on need. Your aperture controls the size of the opening through your lens and therefore the amount of light that is allowed in. Now what is somewhat confusing is that the lower the aperture value, f1.2, f1.8, f2.0 the larger the opening in the glass. Lenses with a lower number f stop such as these are referred to as fast glass, because you can shoot at much faster shutter speeds in lower lighting conditions. If you increase the aperture number to f12, f18, or in the case of the photo above left f22 and on the right f9, you can then slow the shutter speed down considerably because the opening is so small the shutter needs to be opened longer to fill the buckets on our sensor.

Is that the only purpose of aperture, to control the speed of your shutter, of course not. If it was then photography would be much easier and everybody would take breathtaking photos every time. The other purpose to decreasing or increasing your aperture is to create back and foreground softness. If you look at the photo below you can see that just the main subject is in focus and everything behind begins to become softer and out of focus. 


This is one of those creative styles used in photography and especially portrait photos. If you  shoot landscapes or broader subjects where you want everything in focus then using a higher f stop will provide greater focus. These shallow and great focuses are what are referred to as depth of field. A shallow DOF is simply very little area in focus along one distance from the camera. Take for example the the photo above, the focus point on the subject is x feet away and everything in the photo that is that x distance away is in focus and everything else is not. Now look at the photo below, everything in this photo appears to be in focus and will so even if enlarged and that my friends is the simple truth of shallow vs. broad depth of field.


Now to be fair there are other ways to change depth of field using different lenses, prime vs. telephoto, but lets leave that subject for another day. For now I want you to go out and play with your depth of field and shutter speeds. You will discover that one is reflective of the other and both need to be in harmony to achieve a good exposure.

Oh wait what about the third part of the triangle, ISO. Well I think I will leave that to the next post as you have more than enough to chew on for now. ISO while important is not quite as difficult to understand as these other two and once you grasp shutter and aperture ISO will fall quietly into place. So till next time keep playing keep creating and have fun


3 Comments

Learning to Shoot in Manual: Photography Tutorial (part 0ne)

9/22/2013

0 Comments

 
When I began shooting, as a small child, I was fortunate enough to have a great teacher to show me the ropes on a SLR camera. My Grandmother was a shutterbug in her day and had a very nice Olympus which she carried around to all the family reunions and trips she took. When she got on in years and was no longer able to get out with the frequency she wanted she allowed me to continue using that camera which I did right up to just over a year ago. When I made the switch to digital I transferred the camera strap from her camera to my new DSLR and now every shot I take I feel like a part of her is instilled in the picture.

Anyway I reminisce, The point I was going to make was although even then point and shoot cameras existed, Polaroid, Kodak, and a variety of others, I always shot on a SLR. The difference though is that those SLRs did not have an auto function at all, also the price for failure was somewhat expensive. After my Grandmother passed on and before I purchased my DSLR I equipped and used my own darkroom which helped cut some of the costs, but still it was quite pricey to make a mistake. That my friends is the beauty of the digital age. You can make mistakes and it costs you no more than time.

So I guess my question to you is why are you still using your camera in auto mode. You don't have to, going full manual is fun, exciting, and will feed a side of you just begging to be born. Now I'm not saying to turn off auto and never go back, if you are shooting something very important and you don't fully understand manual, stay in auto then when you have time to explore and practise go back to manual.

In this blog series I will endeavour to take you on a journey of exploration and excitement. We will together have moments of joy, at getting that perfect shot. Moments of frustration, trying to get that perfect shot. Finally moments of anguish when we entirely miss that perfect shot, but in the end we will grow and learn from each other.

So grab you camera lets go and make some mistakes. I promise the experience will be rewarding and you will feel that same sense of accomplishment all photographers get when they get that perfect shot.

The first step is of course getting your camera into manual. Now you don't necessarily have to have an SLR it's just that I do, many cameras today have manual or semi manual modes, it's just a question of finding it on yours. You can check your cameras manual, if you still have it, or look at the top of your camera. All DSLR have a button on them with different "modes" M being manual.


You can see all the different modes in the picture to the side. We will look at these modes in depth as we go but for now I just want you to locate manual mode. Remember that this is the first step to opening yourself up to a whole new side of creative photography so make the switch and without doing any thing else take some pictures.Leave your camera lens in auto focus and just shoot. What do you see? The odds are nothing, very few of you might see some sort of picture but most will either see nothing but black or white but certainly not what they shot. You see there are a few settings you must adjust to get the picture you want.


You see what your camera used to do on it's own in auto was adjust 3 variables that you as a photographer needs to become intimate with. They are ISO, Aperture, and Shutter speed. This is known as the photographic triangle. each of these plays off the other and none can be ignored or the photo just won't turn out.

For now just keep in mind that each of these three elements go hand in hand, I will explain them each in depth, but for now put your camera back in auto and look at the settings when you take a picture. From there, looking at your cameras manual, figure out how to adjust each of these settings. Don't hesitate to play around in manual mode change your aperture, change your shutter speed just watch the exposure indicator to ensure that a proper exposure is being met. If you don't know where the exposure indicator is then please open up the owners manual and read through it, things will be clearer as we progress through this series.
0 Comments

Destination Photography: Westin Bayshore, Vancouver

9/8/2013

2 Comments


What a spectacular weekend!

Continuing from Friday's blog about shooting video, my wife and I attended a wedding this last weekend in Vancouver and stayed at the Westin Bayshore Inn. What an experience. The service, the comfort, the views ... incredible. You can see one of the shots I took of the area above. Is that not breathtaking?

Arriving somewhat early to video the guests arriving and the venue before the shindig got started, I felt the first stop should be to introduce myself to the photographer who was hired for the wedding. As he watched me approach (with two camera bags, lighting bag, tripods) you could see apprehension in his eyes about this "presumptuous guest" being his worst nightmare. Photographers are largely lone wolves; they might not mind working with another photographer at times, but to have a guest show up with a pile of equipment usually translates into another obstacle that needs to be navigated.

I quickly explained to him I was very close friends with the bride, and that I was here to video her wedding for her elderly grandmother. This did not change the look on his face, but my next question did.

"Where can I be so I won't impede any of your photographs?"

That, my friends, was the key. This man and his assistants have a very difficult job to do and every guest on that boat has their own special way of becoming irritating to the wedding photographer. It was an obvious relief to him that I was willing to work around him, rather than getting in his way.


I took special effort to ensure my equipment was always out of the way and not impeding on any of the shots he was taking. Towards the end of the ceremony, he and I had some time for a bit of a chat. He went through some of the stills that I took and gave some great feedback on them. One he liked in particular was this, taken at full dusk.

Keep this in mind when you are a guest or at a venue you have not been hired at. Introduce yourself, be courteous to the staff photographer, stay out of the way, and maybe you will get some gems the way I did. If you stay out of their way, they're more likely to let you get your shots after they're finished, and everyone is more likely to have a good time. It's a matter of respect, and who knows -- maybe one day the tables will be turned and you will be the staff photographer wishing that everyone would stay out of your way.

Now I can't let this blog end without explaining the full experience of staying at this grand hotel so please read on.

I booked our room about six weeks ago and speaking to the staff on the phone left me feeling that I would be enjoying a very luxurious weekend at their hotel. There were a variety of packages available and they patiently walked me through each one that interested me explaining the perks and pitfalls of each one. They were not hesitant about explaining where one package fell short or another shined based on the needs of my wife and I. Even after I had booked the room, which was a non-refundable discount, they had no problems exploring my options when I thought I had to cancel (which, luckily, I didn't). One issue that did arise was the request for corporate discount, which the staff suggested was very difficult to qualify for, seems reserved for large corporations not small business people. Some places are more welcoming of small business owners and require only a business card or other proof that you do, in fact, run a business. Unfortunately Westin Bayshore wasn't one of them, but it's not anything I was going to sweat about.

We arrived about two-and-a-half hours before check-in time, and they allowed us entry to our room which was ready without an early check-in pricing. A bellhop was assigned right away to take us and our luggage, including a formidable amount of video gear, to our room and our vehicle was taken by valet parking. En route to our room, our bellhop explained many of the features of the hotel, some of which I immediately pegged as opportunities to get some shots of Vancouver. There was a beautiful dining area overlooking the harbour of Vancouver, an exercise/fitness centre open 24 hours, indoor and outdoor pools, spa, coffee shop, and the list goes on.

In our room we were delighted with the spaciousness of it all. A stylistic tile bathroom with more than enough space for you and your travelling partner to spread out all your hair face and beauty needs. A tile and glass rainshower to  relax your fatigued muscles from the trip in and freshen up. Sitting and office area are combined with large flat screen TV and high speed wired and wireless internet. Finally, (and I leave the best for last) the most comfortable, relaxing, enveloping bed I have ever slept on in my entire life.

This bed is so comfortable that it requires its own paragraph. When I check in to a hotel I usually will flop down on the bed just to see how it feels. I am so thankful I was already dressed for the wedding my wife and I were attending because if I had of flopped onto this gem I may not have made the wedding. It is hard to describe just how this bed seems to wrap around you, as you lay under the comforter. It's not that it was an overly soft bed, which tend to be hard on your back if you sleep in them, but it just seemed to provide support all around you in just the right amount of resistance. In a nut shell this was the best bed I have ever slept on and I thought it didn't get any better than home.

I would strongly suggest if you are looking for an exceptional getaway, where you are pampered, truly looked after and made to feel like the most important client ever, stay at the Westin Bayshore Vancouver. It was a relief to check into a hotel that took care of the little details and had everything I needed nearby, so that I could focus on the wedding and on getting some leisure shots in my spare time.

Normally a photographer would end this piece with the bride and groom, but that's normal instead I would like to leave you with this photo of the bride and her new niece, and the reminder that special moments can happen any time, so just pick up the camera and see what you capture.


2 Comments
<<Previous
Forward>>

    RSS Feed

    Archives

    December 2014
    November 2014
    October 2014
    July 2014
    May 2014
    April 2014
    March 2014
    February 2014
    January 2014
    October 2013
    September 2013
    August 2013
    July 2013
    June 2013

Powered by Create your own unique website with customizable templates.